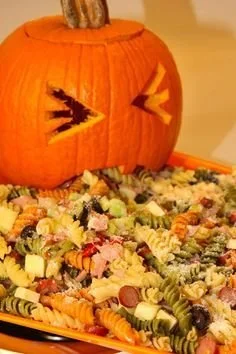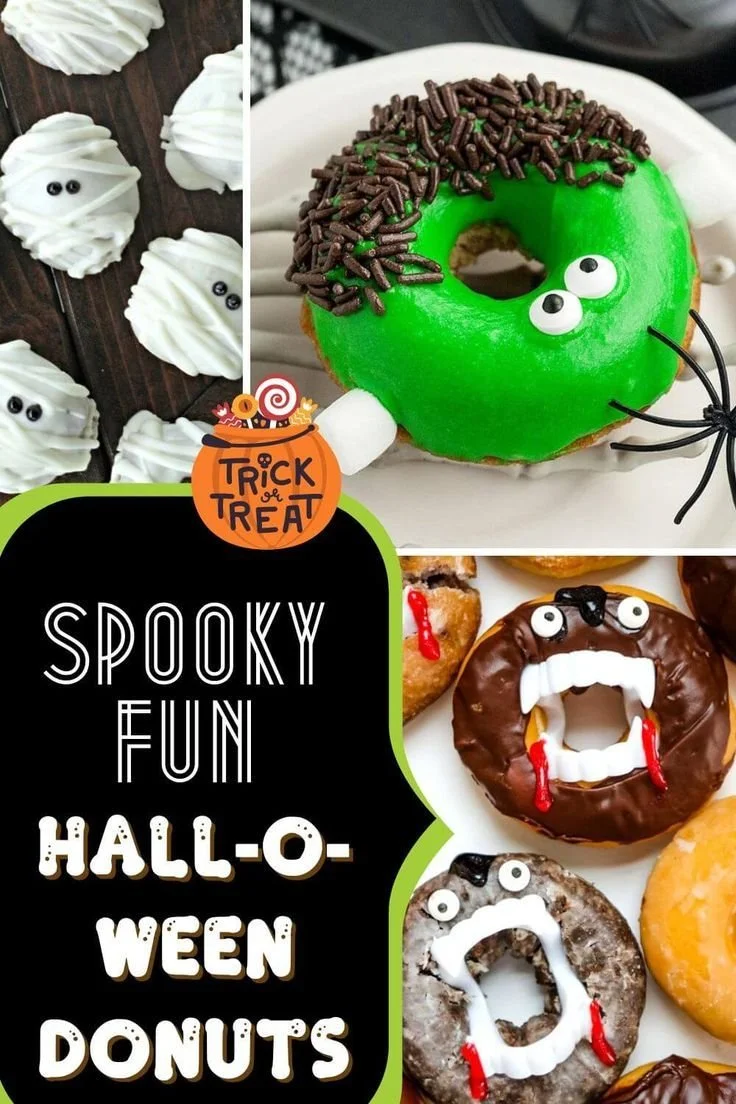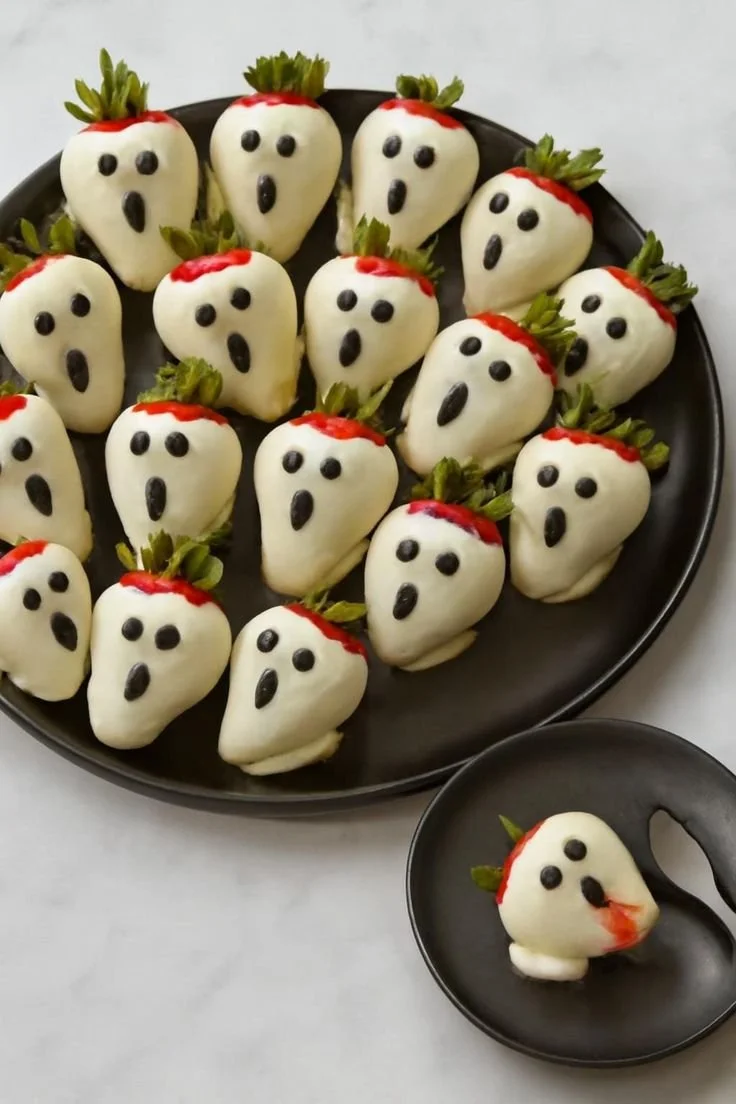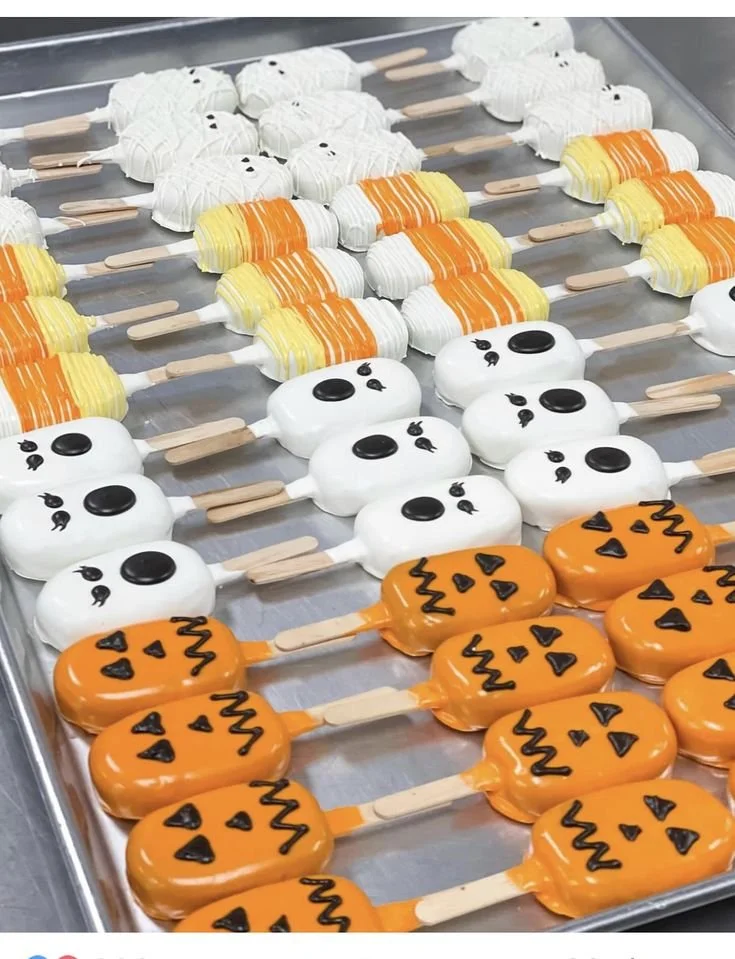
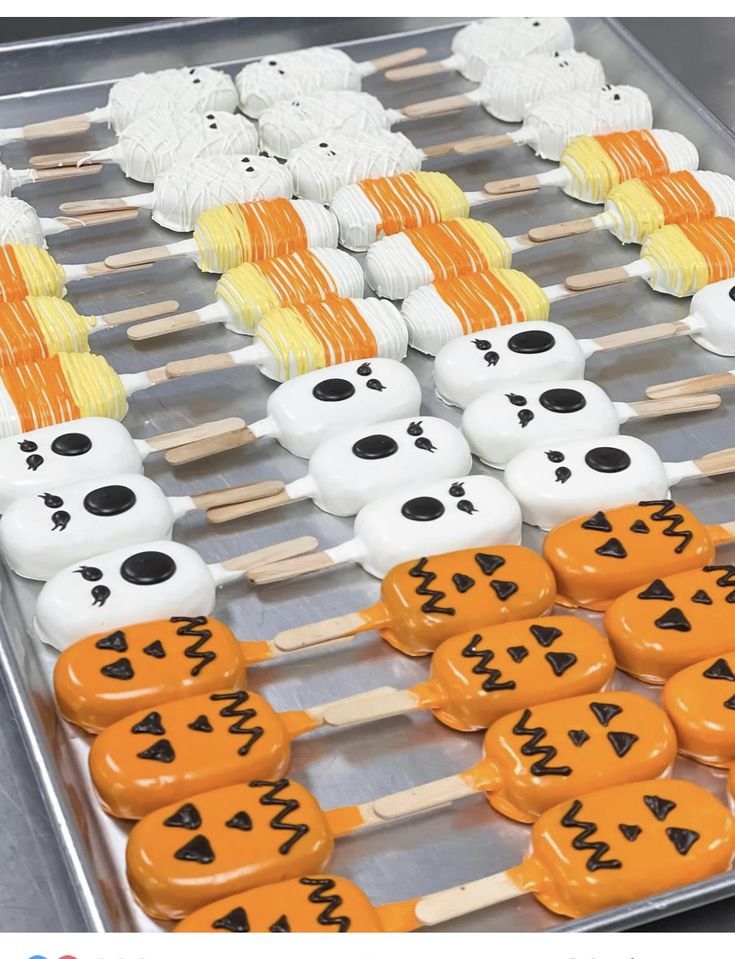
As the leaves change and the crisp air settles in, there’s no better way to embrace the season than by making Creative Halloween Treats for a Spooky Celebration. These delightful desserts not only spark joy but also offer a playful way to celebrate Halloween with family and friends. Whether you’re hosting a whimsical gathering or simply wanting to indulge in the holiday spirit, this recipe brings fun and flavor to the forefront.
Why You’ll Love Creative Halloween Treats for a Spooky Celebration
- Fun and Festive: These treats aren’t just delicious; they look fantastic too. Their eye-catching designs add a playful touch to any Halloween gathering.
- Customizable: You can easily adapt the flavors, colors, and decorations to fit your personal style or party theme.
- Kid-Friendly: Perfect for family activities, these treats are a great way to get kids involved in the kitchen, encouraging creativity and teamwork.
- Easy to Make: With simple steps and minimal ingredients, even beginner cooks can whip up these delightful snacks without a hitch.
- Versatile: Use these treats for various occasions—Halloween parties, school functions, or just as a fun snack at home.
Recipe Overview
- Prep Time: 30 minutes
- Cook Time: 10 minutes
- Total Time: 40 minutes
- Servings: 12
- Difficulty Level: Easy
Ingredients You’ll Need for Creative Halloween Treats for a Spooky Celebration
-
For the Base:
- 1 package of store-bought cake mix (any flavor you prefer)
- 2 large eggs
- 1/3 cup vegetable oil
-
For the Decorations:
- 1 cup white chocolate chips (for melting)
- Food coloring (orange, purple, and black)
- Halloween-themed sprinkles (witches, ghosts, etc.)
-
Optional Add-ins:
- Mini marshmallows (for spooky eyes)
- Edible glitter (for extra sparkle)
How to Make Creative Halloween Treats for a Spooky Celebration
-
Prepare the Batter: In a large mixing bowl, combine the cake mix, eggs, and vegetable oil. Mix until smooth and creamy, ensuring no lumps remain.
-
Shape the Treats: Preheat your oven as per the cake mix instructions. Pour the batter into a greased baking sheet or cupcake liners, filling only halfway. Bake for the time recommended on the cake mix box until a toothpick inserted in the center comes out clean.
-
Cool Completely: Once baked, remove the treats from the oven and let them cool in the pan for about 10 minutes. Then, transfer them to a wire rack to cool completely.
-
Melt the Chocolate: In a microwave-safe bowl, heat the white chocolate chips in 30-second intervals, stirring between each heating until smooth and fully melted. Divide into separate bowls to add your food coloring.
-
Decorate: Dip the treats in the melted white chocolate, allowing any excess to drip off. Let them sit on parchment paper for a few minutes before adding your colored chocolate drizzle and decorations.
-
Add Final Touches: While the chocolate is still soft, sprinkle Halloween-themed sprinkles or place mini marshmallows for eyes. Let everything set for at least 30 minutes before serving.
Tips for Success
- Don’t Overbake: Keep an eye on your treats while baking to avoid dryness. They should spring back when touched.
- Let Them Cool: Ensure the treats are fully cooled before dipping them in chocolate; otherwise, the chocolate will melt too quickly.
- Color Consistency: When using food coloring, a little goes a long way. Start with a drop and mix until you reach the desired hue.
- Experiment with Flavors: Try different cake mixes like chocolate or funfetti for unique tastes and looks.
Easy Variations
- Chocolate-Covered Ghosts: Instead of using colored chocolate, dip in dark chocolate and add chocolate chip eyes to create ghostly figures.
- Pumpkin Spice Treats: Use a pumpkin spice cake mix for a seasonal twist and top with orange chocolate drizzle.
- Fruit Filled: Add a layer of fruit preserves in the batter for a pop of flavor.
- Mini Versions: Make miniature treats using smaller cupcake liners for bite-sized fun.
- Dairy-Free Option: Substitute the white chocolate with dairy-free chocolate chips for a deliciously inclusive treat.
What to Serve with Creative Halloween Treats for a Spooky Celebration
- Spooky Punch: Combine soda and fruit juices for a fun and colorful drink that complements the festive treats.
- Monster Cookies: Pair these with colorful cookies decorated with icing and candy eyes for a complete candy table.
- Ghoulish Cheese Platter: Add a savory touch with an assortment of cheeses and crackers, incorporating seasonal fruits and nuts for balance.
- Fruity Vampire Bites: Serve sliced apples with caramel dip as a fresh contrast to the decadent treats.
Storage and Reheating
- Refrigerator Storage: Store leftovers in an airtight container in the refrigerator for up to 5 days, maintaining freshness.
- Freezer Storage: For longer storage, freeze un-decorated treats in a single layer, then transfer to a freezer-safe bag for up to 2 months.
- Best Reheating Method: If you have leftovers, let them come to room temperature. A quick pop in the microwave for 10-15 seconds can help revive that fresh taste.
Common Mistakes to Avoid
- Skipping Cooling Time: Diving straight into decorating warm treats can cause the chocolate to melt unwantedly.
- Overloading on Decorations: While fun, too many toppings can overwhelm the flavor. Stick to a few great elements.
- Not Measuring Properly: For the best results, measure your ingredients accurately to ensure the right texture.
Creative Halloween Treats for a Spooky Celebration: Background & Cultural Inspiration
Creative Halloween treats tap into the essence of Halloween, where imagination runs wild. This celebration, which originated from ancient Celtic festivals, emphasizes the fun of transformation—both in costumes and treats. The playful designs of these treats reflect the spirit of Halloween, encouraging creativity, humor, and community. Dive into the tradition of gathering with family and friends to share in the artistic expression of food, making it a memorable seasonal delight.
Frequently Asked Questions
Can I make these treats ahead of time?
Yes, you can prepare the base a day in advance and decorate right before your event for maximum freshness.
What if I can’t find certain ingredients?
Feel free to substitute the cake mix with a gluten-free version or alternate with brownie mix for a different flavor profile.
Can I use other types of chocolate?
Absolutely! Dark chocolate or even colored candy melts work well and can add variety to your decoration palette.
How can I make them more festive?
Incorporate seasonal flavors like apple or cinnamon into the cake mix or use Halloween-themed cookie cutters for unique shapes.
How do I ensure my chocolate does not seize?
Be sure to use a microwave-safe bowl and stir thoroughly. If it begins to seize, adding a small drizzle of vegetable oil can help smooth it out.
Final Thoughts
Creative Halloween Treats for a Spooky Celebration offer an easy and delightful way to celebrate the season. Their vibrant designs paired with delicious flavors make them a standout at any gathering. Gather your family, unleash your creativity, and enjoy these treats that are sure to become a beloved Halloween tradition!
PrintCreative Halloween Treats for a Spooky Celebration
Delightful and festive treats perfect for celebrating Halloween with family and friends.
- Prep Time: 30 minutes
- Cook Time: 10 minutes
- Total Time: 40 minutes
- Yield: 12 servings
- Category: Dessert
- Method: Baking
- Cuisine: American
- Diet: Vegetarian
Ingredients
- 1 package of store-bought cake mix (any flavor)
- 2 large eggs
- 1/3 cup vegetable oil
- 1 cup white chocolate chips (for melting)
- Food coloring (orange, purple, and black)
- Halloween-themed sprinkles (witches, ghosts, etc.)
- Mini marshmallows (for spooky eyes)
- Edible glitter (for extra sparkle)
Instructions
- Prepare the Batter: In a large mixing bowl, combine the cake mix, eggs, and vegetable oil. Mix until smooth and creamy, ensuring no lumps remain.
- Shape the Treats: Preheat your oven as per the cake mix instructions. Pour the batter into a greased baking sheet or cupcake liners, filling only halfway. Bake until a toothpick inserted in the center comes out clean.
- Cool Completely: Once baked, remove from the oven and let cool in the pan for 10 minutes, then transfer to a wire rack to cool completely.
- Melt the Chocolate: In a microwave-safe bowl, heat the white chocolate chips in 30-second intervals, stirring until smooth and fully melted. Divide into separate bowls and add food coloring.
- Decorate: Dip the treats in melted white chocolate, allowing excess to drip off. Let sit on parchment paper before adding colored chocolate drizzle and decorations.
- Add Final Touches: While the chocolate is still soft, sprinkle Halloween-themed sprinkles or place mini marshmallows for eyes. Let set for at least 30 minutes before serving.
Notes
Experiment with different cake mixes and decorating techniques. Kids can help with decorating for a fun family activity.