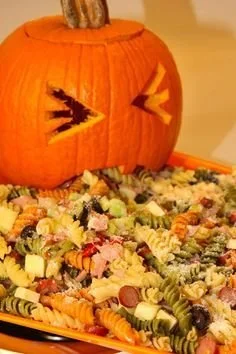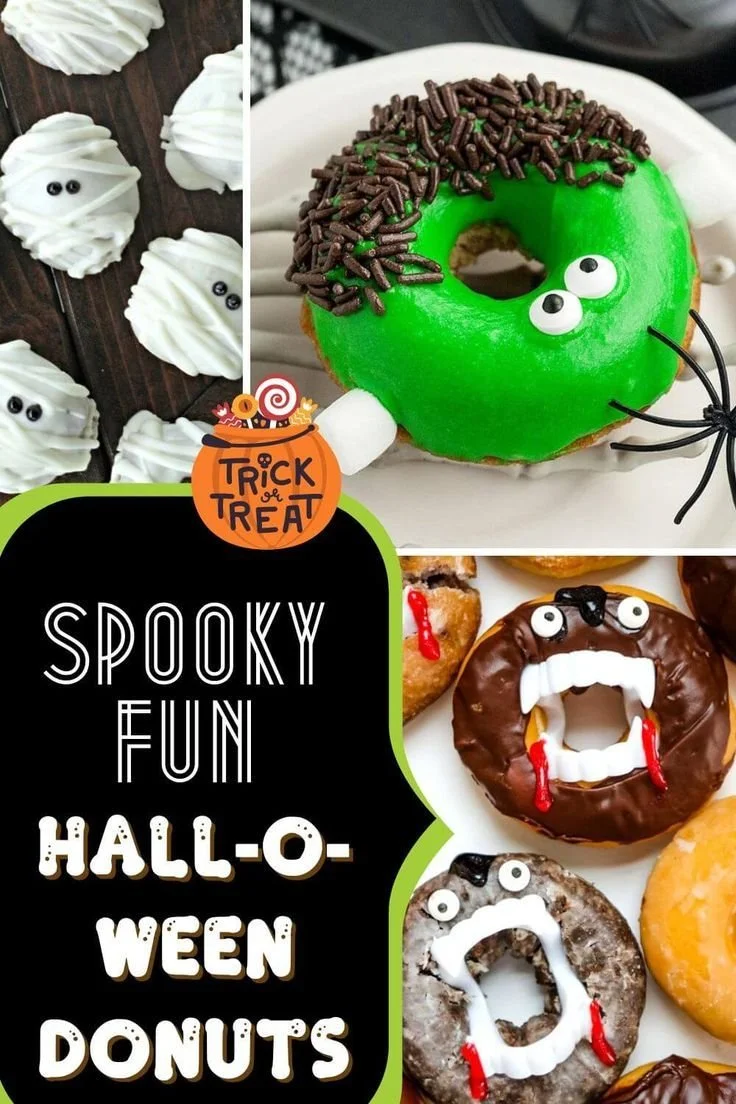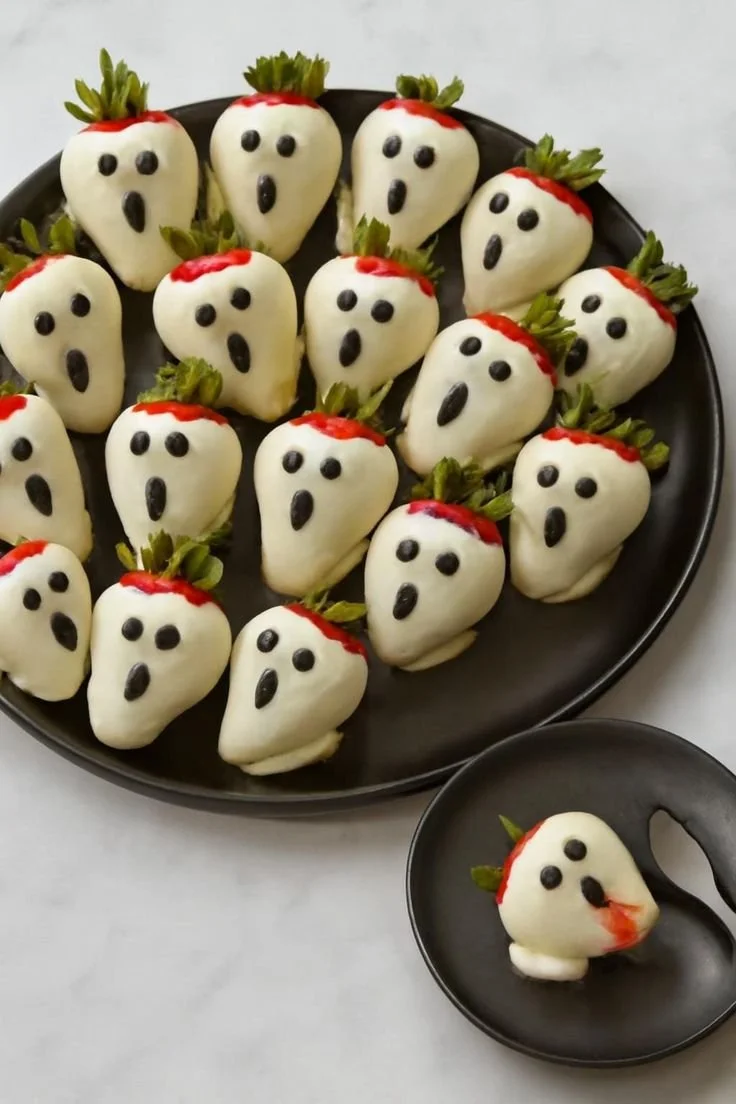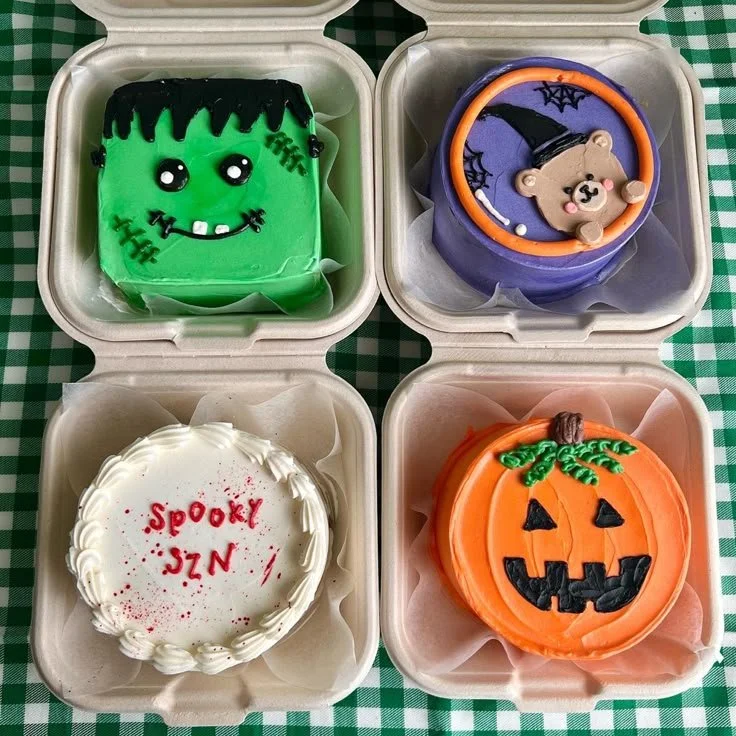
Making adorable Cute Halloween Cakes is a delightful way to celebrate the spooky season. These fun treats are not only visually appealing but also easy to prepare, making them perfect for Halloween gatherings or just a fun day in the kitchen. Let’s dive into this playful recipe that will add a festive touch to your celebrations.
Why You’ll Love Cute Halloween Cakes
- Visually Appealing: These cakes are cute and colorful, making them perfect for Halloween-themed parties or gatherings. They’ll impress your guests and kids alike.
- Easy to Make: With simple steps and easily accessible ingredients, even beginner bakers can create these festive treats without fuss.
- Customizable: You can let your imagination run wild by decorating them in various ways—try different colors, shapes, and toppings to personalize your cakes.
- Great for Sharing: Smaller cake portions make these perfect for party platters or as classroom treats, making them a hit among kids and adults alike.
- Fun Activity: Baking and decorating these cakes can be a fun activity for the whole family, providing a great opportunity for creativity and bonding.
Recipe Overview
- Prep Time: 30 minutes
- Cook Time: 20 minutes
- Total Time: 50 minutes
- Servings: 12 mini cakes
- Difficulty Level: Easy
Ingredients You’ll Need for Cute Halloween Cakes
-
For the Cake:
- 1 ½ cups all-purpose flour
- 1 cup granulated sugar
- ½ cup unsalted butter, softened
- 2 large eggs
- ½ cup milk
- 1 tablespoon baking powder
- 1 teaspoon vanilla extract
- ¼ teaspoon salt
-
For the Decoration:
- 2 cups frosting (store-bought or homemade)
- Food coloring (orange, purple, black, etc.)
- Halloween-themed sprinkles
- Edible eyes (for cute designs)
- Optional: chocolate chips or fruit for additional decoration

How to Make Cute Halloween Cakes
-
Preheat Your Oven: Set your oven to 350°F (175°C). Prepare a cupcake tin by greasing it or placing cupcake liners inside.
-
Mix the Dry Ingredients: In a bowl, whisk together the flour, baking powder, and salt. Set aside.
-
Cream the Butter and Sugar: In another mixing bowl, beat the softened butter and sugar together until the mixture is light and fluffy. This should take about 3-4 minutes.
-
Add Eggs and Vanilla: Beat in the eggs one at a time, ensuring each is fully incorporated before adding the next. Stir in the vanilla extract.
-
Combine Wet and Dry Ingredients: Gradually add the dry mixture to the creamed mixture, alternating with milk. Start and end with the flour mixture, mixing just until combined to avoid overmixing.
-
Fill the Cupcake Tin: Spoon the batter into the prepared cupcake tin, filling each cup about two-thirds full. Bake for 15-20 minutes, or until a toothpick inserted in the center comes out clean.
-
Cool the Cakes: Remove the cakes from the oven and let them cool in the tin for about 5 minutes. Then transfer them to a wire rack to cool completely.
-
Decorate the Cakes: Once cool, divide the frosting into small bowls and add food coloring to each, creating various Halloween colors. Use a knife or piping bag to frost the mini cakes and then apply sprinkles and edible eyes for decoration.
Tips for Success
- Room Temperature Ingredients: Ensure your butter and eggs are at room temperature for a smoother batter.
- Don’t Overmix: Mixing the batter too much can lead to tough cakes. Stop mixing as soon as you see no dry flour.
- Check for Doneness: Ovens vary, so start checking your cakes a few minutes early. They should spring back when lightly pressed.
- Add Flavor: If desired, mix in spices like cinnamon or nutmeg for added flavor to the cake batter.
- Start with Simple Designs: If you’re new to decorating, start with simple designs and slowly add complexity as you get comfortable.
Easy Variations
- Chocolate Cake: Substitute half of the all-purpose flour for cocoa powder for chocolate-flavored mini cakes.
- Gluten-Free Option: Use a 1:1 gluten-free flour blend in place of regular flour.
- Different Flavors: Try using lemon or almond extract instead of vanilla for a unique twist.
- Healthy Twist: Substitute applesauce or yogurt for half of the butter to reduce fat.
- Festive Toppings: Use crushed candies, gummy worms, or Halloween-themed chocolates to create different designs.
What to Serve with Cute Halloween Cakes
- Spooky Drinks: Pair these cakes with fun Halloween drinks like “witches’ brew” or lime sherbet floats for an extra festive touch.
- Halloween Cookies: Offer a selection of Halloween-themed cookies for a variety of treats.
- Cupcake Tower: Arrange these mini cakes on a tower display for an impressive centerpiece at any Halloween event.
- Fruit Skewers: Lighten up your dessert table with fresh fruit skewers that add a refreshing contrast.
Storage and Reheating
- Refrigerator: Store any leftover cakes in an airtight container in the refrigerator for up to 3 days.
- Freezer: These cakes can be frozen for up to a month. Wrap each cake in plastic wrap and then foil before placing in a freezer bag.
- Reheating: For best texture, allow frozen cakes to thaw in the refrigerator overnight. Enjoy them at room temperature or microwave briefly for warmth.
- Meal Prep Note: These cakes are ideal for making ahead of time. Decorate the day before serving for best results.
Common Mistakes to Avoid
- Not Cooling Completely: Decorate the cakes only after they have completely cooled to prevent melting frosting.
- Using Cold Ingredients: Cold butter or eggs can lead to uneven mixtures; always allow them to reach room temperature first.
- Overfilling the Cups: Filling each cupcake liner more than two-thirds full can cause overflow. Stick to the recommended fill level.
- Ignoring Oven Temperature Variability: Always use an oven thermometer to ensure your oven heats accurately.
Cute Halloween Cakes: Background & Cultural Inspiration
Cute Halloween Cakes draw from various traditions surrounding Halloween. The practice of making cake-based treats during festivals celebrates the spirit of togetherness. While Halloween originated from ancient Celtic customs, modern interpretations include playful elements—especially for children. Mini cakes allow for creativity in baking and are a fun way to engage young ones in the kitchen. The vibrant colors and quirky designs celebrate the whimsy associated with Halloween festivities.
Frequently Asked Questions
Can I make these ahead of time?
Yes, you can bake and freeze the cakes ahead of time. Just frost them closer to when you plan to serve.
What type of frosting works best?
Both buttercream and cream cheese frosting work beautifully for decorating these cakes. Choose based on your flavor preference.
How can I make them dairy-free?
To make these cakes dairy-free, use plant-based butter and non-dairy milk alternatives.
Can I add filling to the cakes?
Absolutely! You can cut a small hole in the top and fill them with jelly, frosting, or whipped cream for a delightful surprise.
What if I want a spicier flavor profile?
You can experiment by adding spices like cinnamon, nutmeg, or ginger to the batter for a more seasonal taste.
Final Thoughts
These Cute Halloween Cakes are not only easy to make but also a fun way to celebrate the season. With their cheerful decoration and delightful taste, they’ll quickly become a favorite in your baking repertoire. So gather your ingredients, invite your friends or family into the kitchen, and enjoy the process of creating these festive treats together. Happy baking and happy Halloween!