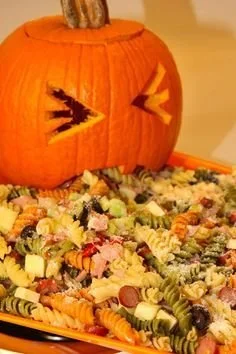
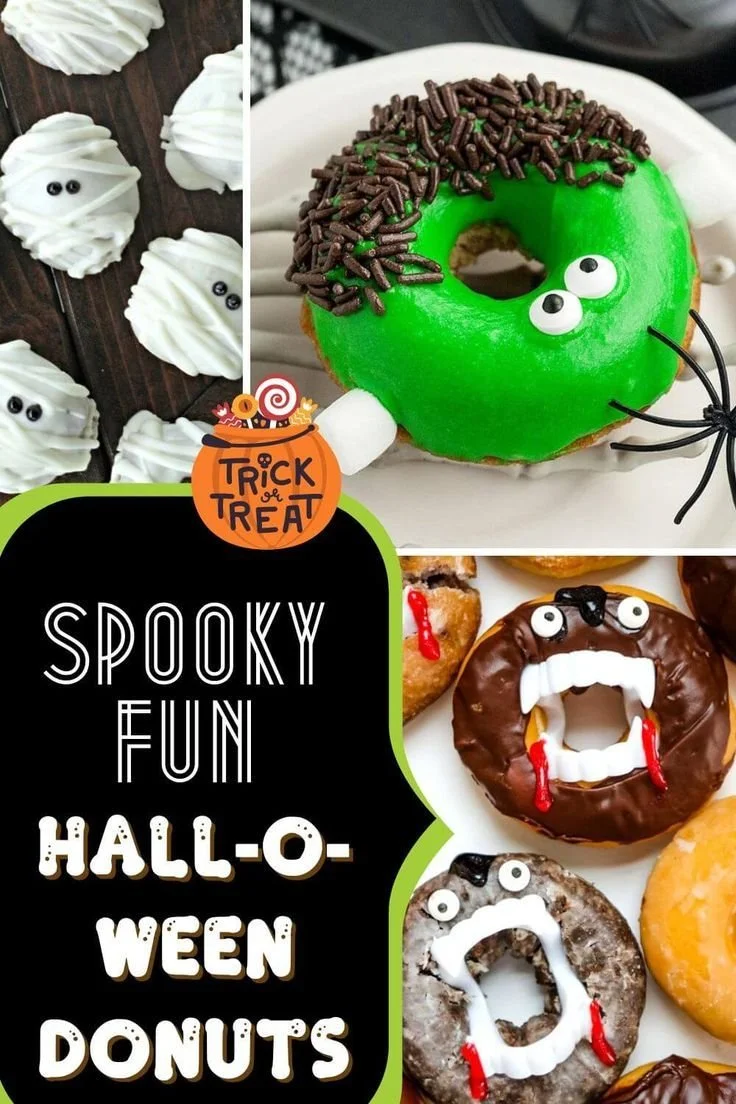
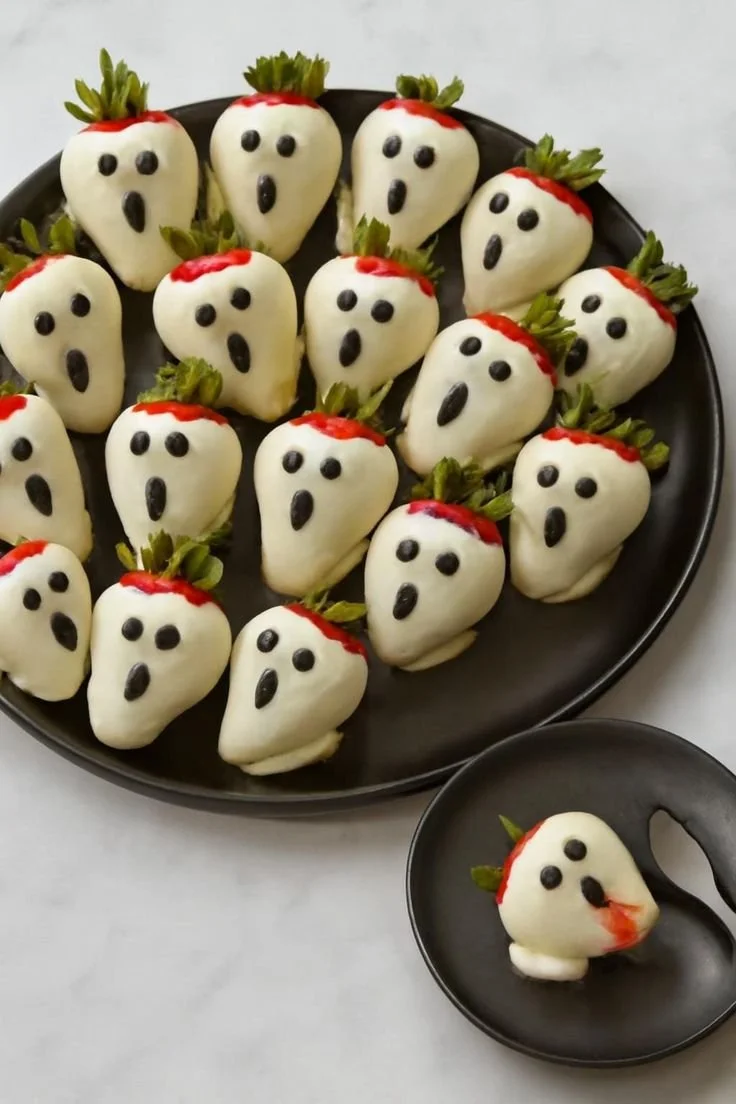
Halloween is a time for creativity and fun, and nothing embodies that spirit quite like Halloween Cake Pops. These delightful treats aren’t just visually appealing; they’re also an enjoyable hands-on project that kids and adults alike can dive into. With a variety of designs, they make perfect sweet additions to any Halloween celebration.
Why You’ll Love Halloween Cake Pops
- Fun to Decorate: Halloween Cake Pops can be customized with different colors, sprinkles, and designs, allowing everyone to get creative.
- Portion-Friendly: These bite-sized treats are perfect for offering guests a small sweet indulgence without overdoing it.
- Great for Parties: Their festive appearance and delicious flavor make them a hit at any Halloween gathering or party.
- Easy to Make: You don’t have to be a professional baker to create these treats; they’re simple enough for even beginner cooks to try.
- Versatile Flavors: You can use any cake flavor and frosting to suit your taste, making them adaptable for various preferences.
- Easy to Package: Cake pops make for great take-home treats, as they’re easy to wrap up for guests to enjoy later.
Recipe Overview
- Prep Time: 30 minutes
- Cook Time: 15 minutes (plus cooling time)
- Total Time: 1 hour (not including chilling time)
- Servings: Approximately 20 cake pops
- Difficulty Level: Easy
Ingredients You’ll Need for Halloween Cake Pops
- 1 Box of Cake Mix: Choose your favorite flavor (vanilla, chocolate, red velvet).
- 1 Cup of Frosting: Store-bought or homemade, complementing the cake flavor.
- Candy Coating or Melting Chocolate: Colored candy melts for coating.
- Lollipop Sticks: These hold the cake pops.
- Sprinkles and Decor: Choose Halloween-themed options like spooky eyes or orange and black sprinkles.
- Optional Add-Ins: Flavored extracts such as vanilla or almond can enhance the taste.
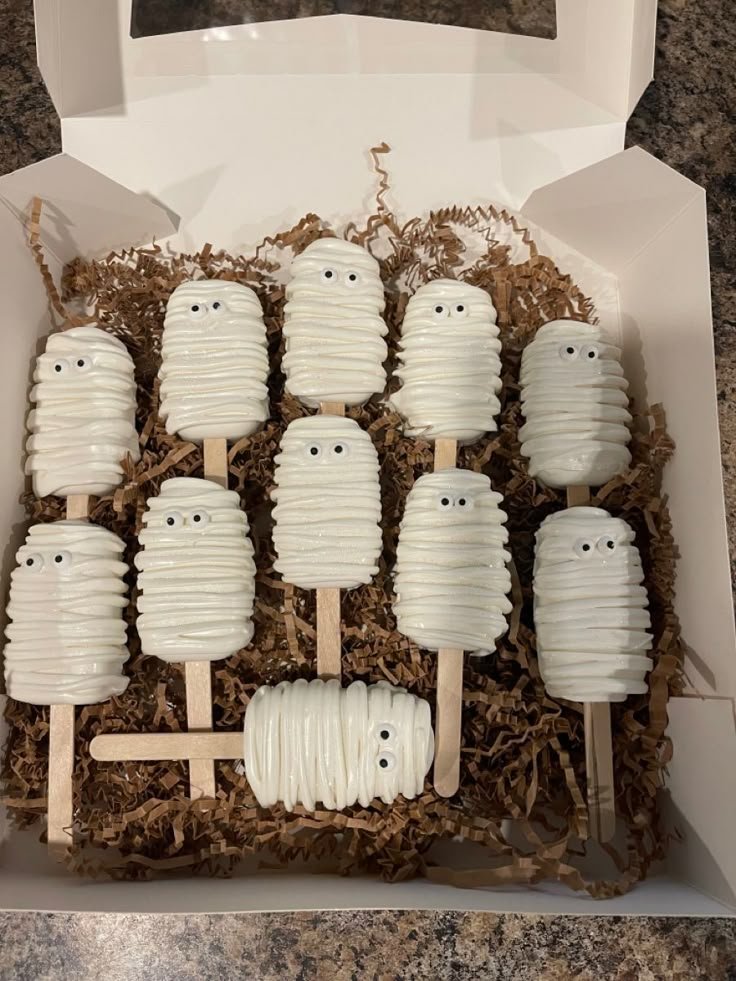
How to Make Halloween Cake Pops
-
Bake the Cake: Prepare the cake mix according to the package instructions. Allow it to cool completely in the pan before moving to the next step.
-
Crumble the Cake: Once cooled, crumble the cake into a large bowl using your hands. The mixture should be fine and even without large chunks.
-
Add Frosting: Mix in the frosting gradually, incorporating it into the crumbled cake until fully combined. The mixture should be moist but not overly sticky.
-
Form the Balls: Take small portions of the cake mixture and roll them into balls, about 1 inch in diameter. Place the balls on a baking sheet lined with parchment paper.
-
Chill the Cake Balls: Refrigerate the rolled cake balls for at least 30 minutes. This helps them hold their shape when dipping.
-
Melt the Candy Coating: While the cake balls chill, melt the candy coating in a microwave-safe bowl in 30-second intervals, stirring until smooth.
-
Insert Sticks: Dip the tip of each lollipop stick into the melted coating, then insert it into the center of each cake ball. This helps secure the stick in place.
-
Coat the Cake Pops: Dip each chilled cake pop into the melted coating, allowing any excess to drip off. Use a spoon to help coat all sides evenly.
-
Decorate: While the coating is still wet, add sprinkles or other decorations as desired. Stand the cake pops upright in a floral foam block or a cake pop stand to set.
-
Allow to Set: Let the candy coating harden completely at room temperature or in the refrigerator.
Tips for Success
- Ensure your cake balls are completely chilled before dipping; this helps prevent them from falling apart.
- Use a good quality candy coating for the best flavor and smooth finish.
- If the coating is too thick, add a small amount of shortening to achieve the right consistency.
- Experiment with color combinations to match your Halloween theme.
Easy Variations
- Flavored Cake Mix: Try using pumpkin spice cake mix for a seasonal twist.
- Colorful Coatings: Use different color candy melts for a vibrant look, such as green and purple.
- Chocolate Drizzle: After coating, drizzle melted dark or white chocolate for added decoration.
- Add Fillings: Incorporate surprises like a chocolate ganache or caramel center inside the cake pops.
- Gourmet Sprinkles: Use edible glitter or themed sprinkles to elevate the festive look.
What to Serve with Halloween Cake Pops
- Hot Apple Cider: A warm drink that complements sweet treats and adds to the festive atmosphere.
- Spooky Cookies: Pair with decorated Halloween cookies for a delightful dessert table.
- Candy Corn: This iconic Halloween candy can be used as a decorative touch or served alongside the cake pops.
- Themed Cupcakes: Create a dessert spread with Halloween-inspired cupcakes, enhancing the overall theme.
- Fruit Kabobs: Fresh fruit can balance the sweetness of cake pops and offer a refreshing option.
Storage and Reheating
- Refrigerator Storage: Store leftover cake pops in an airtight container in the refrigerator for up to one week.
- Freezer Storage: Freeze cake pops in a single layer, then transfer to a zip-top bag for up to three months. Thaw in the fridge before serving.
- Reheating Method: Cake pops are not meant to be reheated; it’s best to eat them as they are.
- Preserving Texture: Ensure they are sealed tightly to maintain texture and moisture.
Common Mistakes to Avoid
- Using Warm Cake Mix: Make sure the cake is completely cool before rolling into balls to prevent melting the candy coating.
- Too Much Frosting: Adding too much frosting can make the mix overly sticky and hard to shape.
- Neglecting Chilling Time: Skipping the chilling time can lead to cake pop falls apart when dipped in coating.
- Overheating Chocolate: Melting chocolate in large intervals ensures you don’t overheat and burn it.
- Not Coating Sticks: Failing to dip the sticks in coating before inserting them can cause the cake balls to slide off.
Halloween Cake Pops: Background & Cultural Inspiration
Halloween cake pops marry traditional Halloween fun with modern baking creativity. While cake on a stick is a relatively new invention, the idea of transforming leftover cakes into delightful desserts has roots in many cultures. In Mexico, for example, "pan de muerto" is beautifully decorated bread baked for Día de los Muertos celebrations. Similarly, the cake pop phenomenon has made its way into festivities, providing a playful approach to enjoying sweets.
Frequently Asked Questions
Can I use any cake flavor for Halloween Cake Pops?
Absolutely! Vanilla, chocolate, red velvet, and even pumpkin spice are all excellent choices.
How do I get the candy coating to look smooth?
Make sure the candy melts are fully melted and smooth, and dip quickly to avoid buildup.
Can cake pops be made ahead of time?
Yes, you can prepare cake balls in advance and freeze them until ready to coat and decorate.
What’s the best way to package cake pops for gifting?
Use cellophane bags tied with ribbon, or place them in a decorated box for an impressive presentation.
How do I know when the coating has hardened?
The coating will feel firm to the touch and lose its glossy appearance when fully set.
Final Thoughts
Halloween Cake Pops are not only a treat for the eyes but also a delightful way to celebrate the season. Their customizable nature and ease of preparation make them perfect for any Halloween gathering. Give this fun recipe a try, and enjoy the festive flavor and creativity that comes with each pop! Happy baking!
PrintHalloween Cake Pops
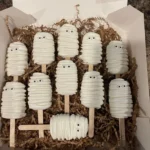
Delightful and festive Halloween Cake Pops that are fun to make and decorate, perfect for any Halloween celebration.
- Prep Time: 30 minutes
- Cook Time: 15 minutes
- Total Time: 60 minutes
- Yield: 20 cake pops
- Category: Dessert
- Method: Baking
- Cuisine: American
- Diet: Vegetarian
Ingredients
- 1 Box of Cake Mix (your favorite flavor)
- 1 Cup of Frosting (store-bought or homemade)
- Candy Coating or Melting Chocolate
- Lollipop Sticks
- Sprinkles and Decor (Halloween-themed options)
- Optional Add-Ins (flavored extracts like vanilla or almond)
Instructions
- Bake the cake according to the package instructions. Allow it to cool completely in the pan.
- Crumble the cooled cake into a bowl until fine and even.
- Add the frosting gradually, mixing until fully incorporated and moist.
- Form small balls (about 1 inch in diameter) from the mixture and place on a baking sheet.
- Chill the cake balls in the refrigerator for at least 30 minutes.
- Melt the candy coating in a microwave-safe bowl until smooth.
- Insert lollipop sticks into the centers of the chilled cake balls after dipping the ends in coating.
- Coat each cake pop in the melted coating, allowing excess to drip off.
- Decorate with sprinkles while the coating is still wet.
- Allow the coating to harden at room temperature or in the refrigerator.
Notes
Ensure cake balls are completely chilled before dipping to maintain their shape.