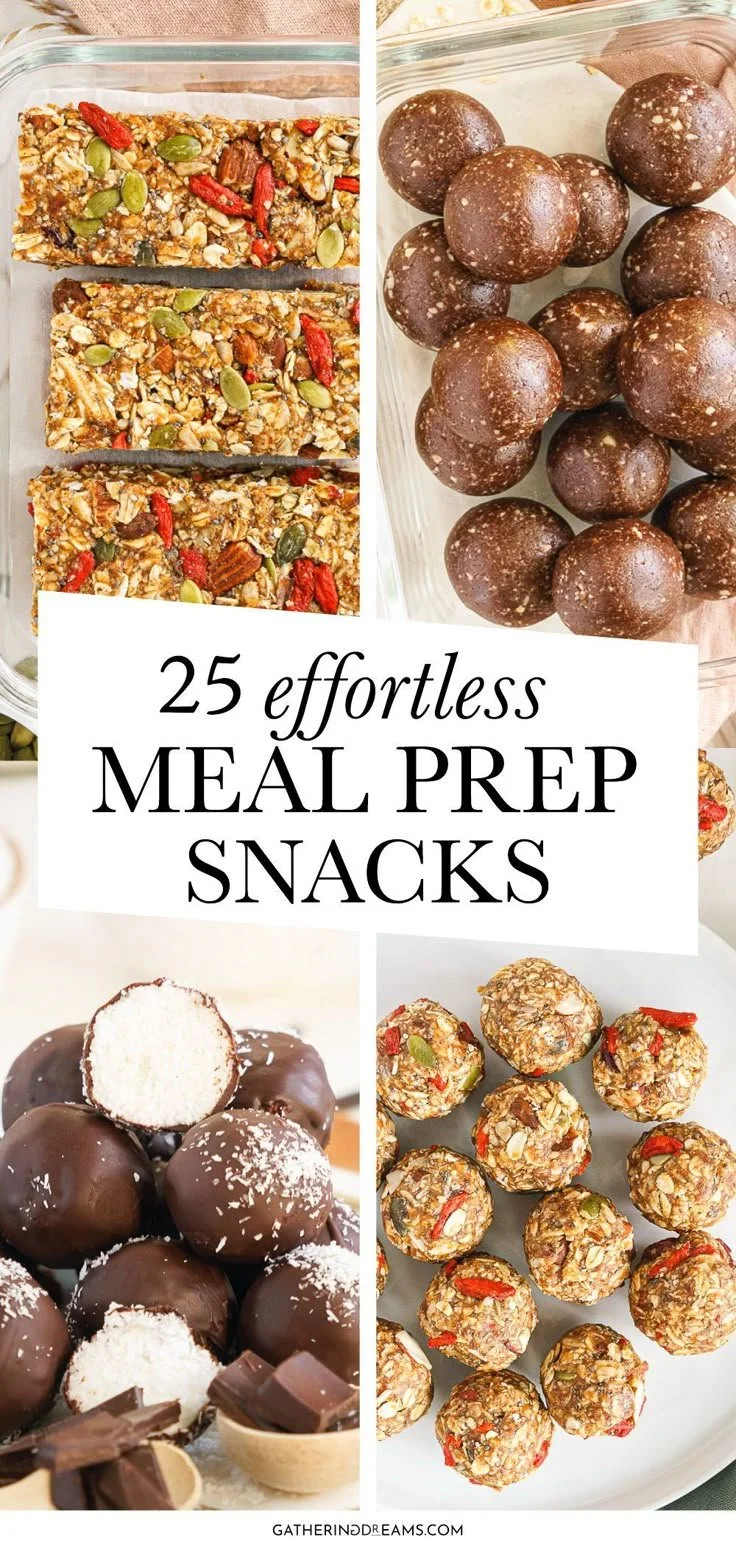
Making a batch of No-Bake Chocolate Granola Bars is a simple way to satisfy your sweet cravings while also providing a nutritious snack option. These bars combine the goodness of nuts, dried fruits, and granola with the rich flavor of dark chocolate. They’re easy to make and perfect for a quick grab-and-go treat!
Why You’ll Love No-Bake Chocolate Granola Bars
- Quick and Easy: With minimal cooking time, these granola bars come together in no time, making them a perfect midweek snack.
- Customizable Ingredients: Use your favorite nuts, dried fruits, or even granola variations to make this recipe your own.
- Healthy Snack Option: Packed with fiber and healthy fats, these bars offer a satisfying way to keep your energy up during the day.
- No Baking Required: Perfect for hot days or those who want to avoid turning on the oven, these bars are set in the fridge.
- Make Ahead Convenience: Prepare these bars in advance for easy meal prep, ensuring you always have a nutritious snack on hand.
Recipe Overview
- Prep Time: 15 minutes
- Cook Time: 0 minutes
- Total Time: 1 hour 15 minutes (includes chilling)
- Servings: 10 bars
- Difficulty Level: Easy
Ingredients You’ll Need for No-Bake Chocolate Granola Bars
- Nuts: 1 cup of mixed nuts (almonds, walnuts, or cashews work well)
- Dried Fruits: 1 cup of dried fruit (such as cranberries or apricots)
- Granola: 1 cup of granola (choose your favorite blend)
- Dark Chocolate: 1/2 cup of dark chocolate chips (for a rich flavor)
- Sweetener: 1/4 cup of honey or maple syrup (to bind the ingredients)
- Spice: 1 tsp of cinnamon (for added flavor)
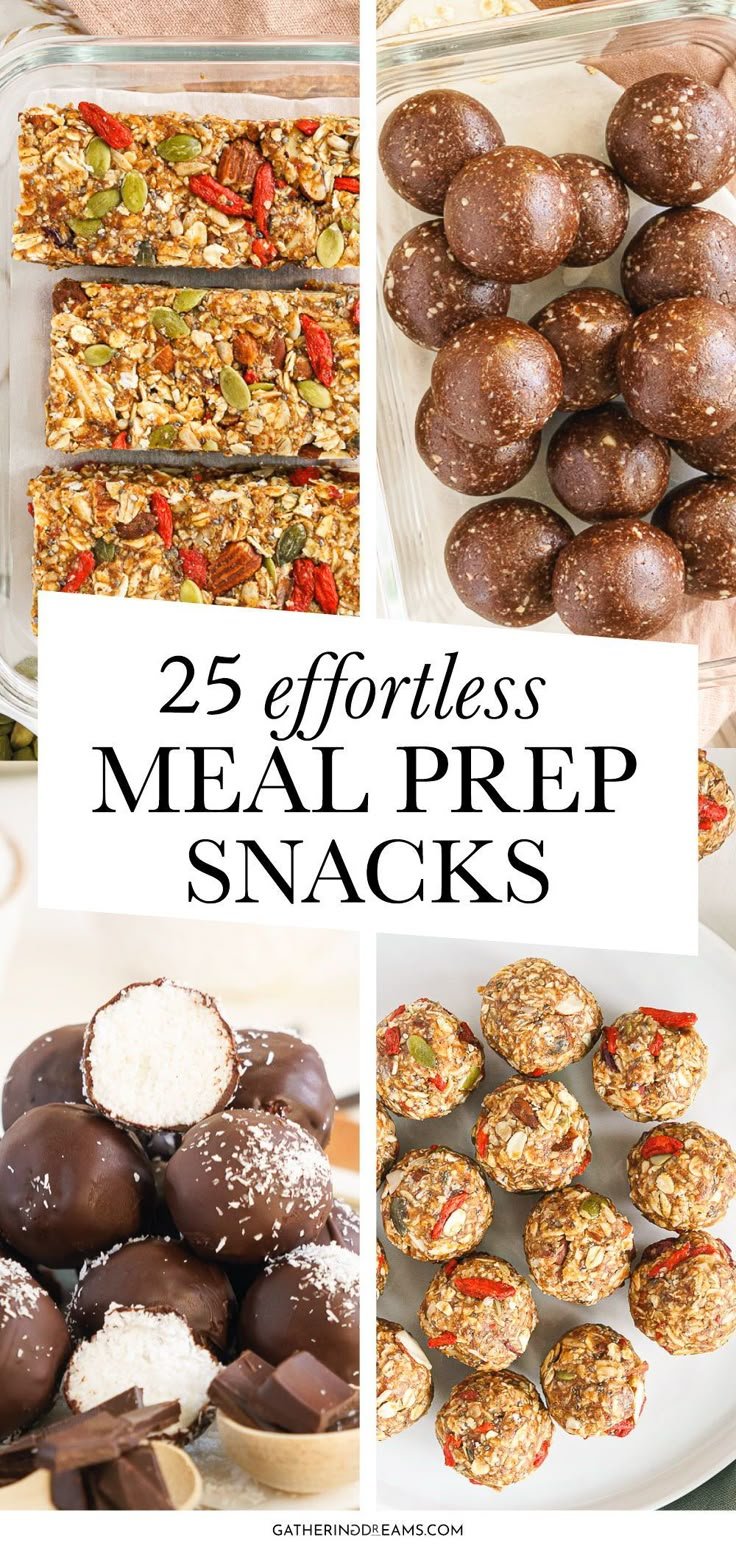
How to Make No-Bake Chocolate Granola Bars
-
Combine Dry Ingredients: In a large bowl, mix together the mixed nuts, dried fruit, granola, and dark chocolate chips until evenly combined.
-
Prepare Sweetener Mixture: In a small saucepan over low heat, warm the honey or maple syrup with the cinnamon until it’s liquid and easy to pour.
-
Mix Everything Together: Pour the honey mixture over the dry ingredients and stir until all the components are well combined and coated.
-
Press Mixture onto Baking Sheet: Spread the mixture onto a baking sheet lined with parchment paper. Use a spatula or your hands to press down firmly to create an even layer.
-
Chill to Set: Place the baking sheet in the refrigerator and chill for at least 1 hour, or until set.
-
Cut into Bars: Once set, remove from the fridge and cut into bars or squares.
-
Store: Keep the bars in an airtight container for up to a week, enjoying them as a quick snack or on-the-go breakfast option.
Tips for Success
- Press Firmly: Make sure to press the mixture down firmly in the baking sheet to help the bars hold together.
- Use Parchment Paper: Lining your baking sheet with parchment paper makes it easier to lift out the bars once they’re set.
- Adjust Sweetness: If you prefer less sweetness, reduce the honey or maple syrup slightly according to your taste.
- Cool Before Cutting: Allow the bars to cool completely before cutting to ensure a clean cut and sturdy bar.
- Storage Consistency: To maintain the texture, store bars in an airtight container rather than a plastic bag.
Easy Variations
- Nut-Free Option: Replace mixed nuts with pumpkin seeds or sunflower seeds to accommodate allergies.
- Add Protein: Incorporate protein powder into the mixture for an extra boost.
- Spice It Up: Mix in a pinch of nutmeg or ginger for a different flavor profile.
- Different Sweeteners: Swap honey for agave syrup or brown rice syrup for a vegan-friendly option.
- Coconut Twist: Add unsweetened shredded coconut for added texture and flavor.
What to Serve with No-Bake Chocolate Granola Bars
- Greek Yogurt: These bars pair well with Greek yogurt for a balanced snack. Top the yogurt with fresh fruit for a satisfying combination.
- Fruit Smoothies: Blend your favorite fruits with yogurt and serve these bars on the side for added crunch.
- Nut Butter: Serve with almond or peanut butter for a protein-rich snack option, adding creaminess and flavor.
- Coffee or Tea: Enjoy these bars with a warm cup of coffee or tea for a comforting midday treat.
- Fresh Fruit: Pair with apples or bananas for a refreshing contrast to the sweet bars.
Storage and Reheating
- Refrigerator Storage: Keep the granola bars in an airtight container in the fridge for up to one week.
- Freezer Storage: For longer storage, freeze the bars in a single layer on a baking sheet, then transfer them to a freezer-safe container or bag for up to three months.
- Best Reheating Method: There is no need to reheat these bars; they are best enjoyed cold or at room temperature.
- Texture Preservation: To maintain the chewiness of the bars, avoid excessive exposure to air.
- Meal Prep Note: These bars are great for meal prep! Make a double batch to have on hand for busy weeks.
Common Mistakes to Avoid
- Not Pressing Firmly: Failing to press the ingredients down firmly can lead to crumbly bars that fall apart.
- Using Too Much Liquid: Adding too much honey or syrup can result in overly sticky bars that won’t hold together.
- Skipping Chilling Time: Don’t rush the chilling process; these bars need time to set properly.
- Overbaking or Heating: If you choose to heat the honey mixture too long or at too high heat, it can caramelize too much and lose its binding ability.
- Improper Storage: Not storing the bars in an airtight container will lead to staleness over time.
No-Bake Chocolate Granola Bars: Background & Cultural Inspiration
Granola bars emerged from the blend of health food trends and the increasing demand for portable snacks in the late 20th century. They offer a fusion of flavors and textures that appeal to all age groups. The concept of combining oats, nuts, and dried fruits is rooted in traditional practices of using wholesome ingredients for energy and nourishment. No-bake variations appeal particularly to those looking for convenience without sacrificing taste or nutrition, making these bars a modern staple for busy lifestyles.
Frequently Asked Questions
Can I use different types of nuts?
Yes! Feel free to customize the nuts based on your preference, keeping in mind that different nuts will impart different flavors and textures.
How long do these bars last?
When stored in an airtight container, they can last up to a week in the refrigerator and up to three months in the freezer.
Are these bars suitable for kids?
Absolutely! These bars are a healthy snack option for kids and can be a great way to introduce them to nutritious foods.
Can I skip the chocolate?
Yes, if you prefer a lower sugar option, you can omit the chocolate chips or use a smaller amount.
Can I make these bars vegan?
Yes! Just substitute honey with maple syrup or agave syrup to keep the recipe vegan.
Final Thoughts
No-Bake Chocolate Granola Bars are not only simple to make but also provide a delicious and nutritious snack option that suits many dietary preferences. With their customizable ingredients and easy preparation, they make for a fantastic healthy treat to have on hand. Enjoy crafting these bars and sharing them with family and friends!
PrintNo-Bake Chocolate Granola Bars

Satisfy your sweet cravings with these nutritious no-bake chocolate granola bars made with nuts, dried fruits, and dark chocolate.
- Prep Time: 15 minutes
- Cook Time: 0 minutes
- Total Time: 75 minutes
- Yield: 10 bars
- Category: Snack
- Method: No-Bake
- Cuisine: American
- Diet: Vegetarian
Ingredients
- 1 cup mixed nuts (almonds, walnuts, or cashews)
- 1 cup dried fruit (such as cranberries or apricots)
- 1 cup granola (choose your favorite blend)
- 1/2 cup dark chocolate chips
- 1/4 cup honey or maple syrup
- 1 tsp cinnamon
Instructions
- Combine dry ingredients: In a large bowl, mix together the mixed nuts, dried fruit, granola, and dark chocolate chips until evenly combined.
- Prepare sweetener mixture: In a small saucepan over low heat, warm the honey or maple syrup with the cinnamon until it’s liquid and easy to pour.
- Mix everything together: Pour the honey mixture over the dry ingredients and stir until all components are well combined and coated.
- Press mixture onto baking sheet: Spread the mixture onto a baking sheet lined with parchment paper. Use a spatula or your hands to press down firmly to create an even layer.
- Chill to set: Place the baking sheet in the refrigerator and chill for at least 1 hour, or until set.
- Cut into bars: Once set, remove from the fridge and cut into bars or squares.
- Store: Keep the bars in an airtight container for up to a week.
Notes
Press firmly when spreading the mixture on the baking sheet to ensure bars hold together. Use parchment paper for easy removal.