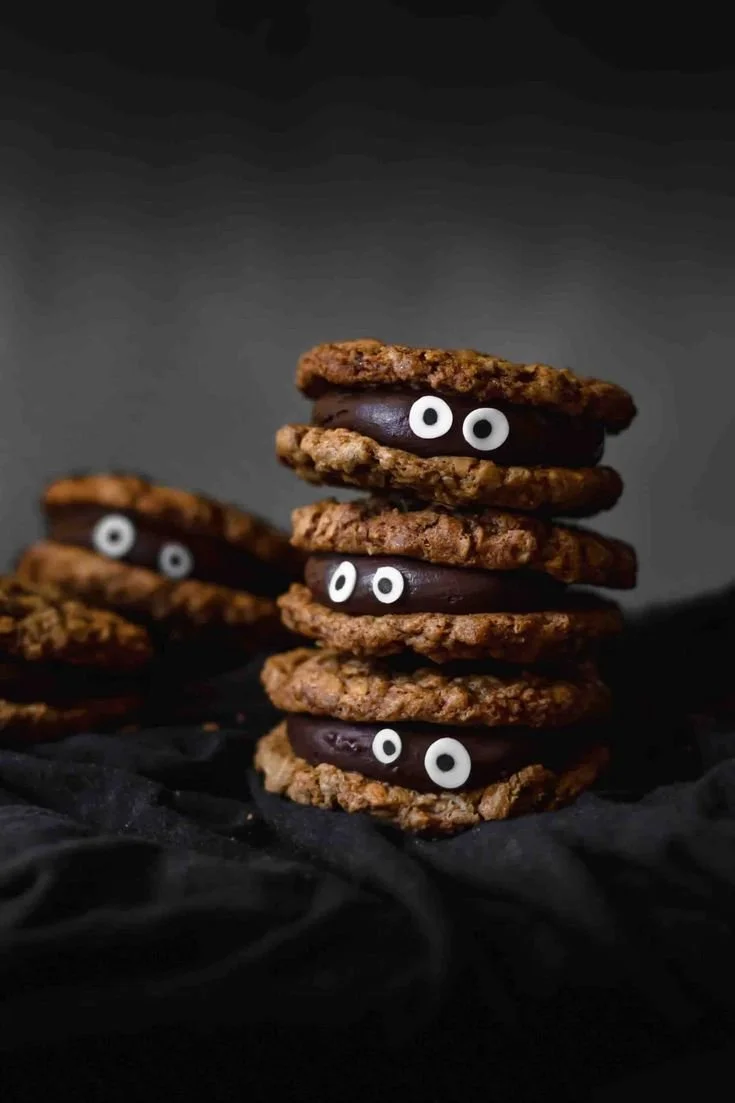
Spooky Halloween Cookies are a delightful treat perfect for the Halloween season. These fun and colorful cookies bring a festive touch to your festivities, making them an irresistible addition to any trick-or-treating spread or Halloween party. Enjoy the comforting flavors and satisfying textures of these cookies, all while embracing the spirit of the holiday.
Why You’ll Love Spooky Halloween Cookies
- Easy to Make: With simple ingredients and straightforward steps, these cookies are perfect for beginner bakers looking to create something special without the fuss.
- Customizable: The cookies are a blank canvas for creativity. Use different themed sprinkles or decorations to match your Halloween spirit, making them unique each time you bake.
- Perfect for Sharing: Bake a batch to share with friends, family, or neighbors. They’re a hit at parties, classroom celebrations, and even in your own home.
- Comforting Flavors: The combination of buttery sweetness and festive embellishments creates a deliciously comforting treat that pairs well with a warm drink on a chilly evening.
- Quick Baking Time: These cookies come together quickly. You can have a fresh batch ready in about 30 minutes, making them a stress-free treat for last-minute gatherings.
Recipe Overview
- Prep Time: 10 minutes
- Cook Time: 10 minutes
- Total Time: 20 minutes
- Servings: About 24 cookies
- Difficulty Level: Easy
Ingredients You’ll Need for Spooky Halloween Cookies
- Dry Ingredients:
- 2 3/4 cups all-purpose flour
- 1 teaspoon baking soda
- 1/2 teaspoon baking powder
- 1/2 teaspoon salt
- Wet Ingredients:
- 1 cup unsalted butter, softened
- 1 1/2 cups white sugar
- 1 cup packed brown sugar
- 2 eggs
- 2 teaspoons vanilla extract
- Decorations:
- Halloween-themed sprinkles or decorations (such as candy corn, edible eyes, or spooky shapes)

How to Make Spooky Halloween Cookies
-
Preheat the Oven
Preheat your oven to 375°F (190°C). This step ensures that your cookies bake evenly. -
Mix Dry Ingredients
In a small bowl, stir together the flour, baking soda, baking powder, and salt. Set this mixture aside. Incorporating the dry ingredients separately helps to ensure even distribution throughout the batter. -
Cream the Butter and Sugars
In a large bowl, cream together the softened butter, white sugar, and brown sugar until the mixture is smooth and fluffy. This process incorporates air, helping to create a light and tender cookie. -
Incorporate the Eggs and Vanilla
Beat in the eggs one at a time, ensuring each egg is fully incorporated before adding the next. Stir in the vanilla extract for a hint of flavor. -
Combine Wet and Dry Mixtures
Gradually blend the dry ingredients into the creamed mixture until just combined. Be careful not to over-mix, as this can lead to tough cookies. -
Form the Cookies
Roll rounded teaspoonfuls of dough into balls and place them onto ungreased cookie sheets. Leave some space between each ball, as they will spread during baking. -
Flatten and Decorate
Flatten each dough ball slightly with the bottom of a glass. Sprinkle Halloween-themed decorations generously on top of each cookie, allowing them to adhere to the surface. -
Bake
Bake in the preheated oven for 8 to 10 minutes, or until the cookies are golden around the edges. The centers may look slightly underbaked, which is ideal for a chewy texture. -
Cool
Allow the cookies to cool on the baking sheets for a few minutes before transferring them to wire racks to cool completely.
Tips for Success
- Butter Consistency: Ensure your butter is softened but not melted. This helps create the desired texture.
- Don’t Overmix: Mix the dough only until the ingredients are combined to avoid dense cookies.
- Even Baking: If your oven has hot spots, consider rotating the cookie sheets halfway through baking to ensure even cooking.
- Sprinkle Application: Add extra sprinkles right after baking for a more vibrant look. They will adhere better when the cookies are slightly warm.
Easy Variations
- Chocolate Chip Cookies: Add 1 to 2 cups of chocolate chips for a delicious twist.
- Spiced Cookies: Add 1 teaspoon of cinnamon or pumpkin spice for a warm, seasonal flavor.
- Gluten-Free: Substitute all-purpose flour with a 1:1 gluten-free baking mix for gluten-free cookies.
- Nutty Crunch: Mix in 1 cup of chopped nuts, such as pecans or walnuts, for extra texture.
- Dairy-Free Option: Use vegan butter or a neutral oil, and pick dairy-free chocolate or sprinkles as substitutes.
What to Serve with Spooky Halloween Cookies – Quick and Easy!
- Apple Cider: The sweetness of the cookies pairs perfectly with warm apple cider, enhancing the fall flavors.
- Hot Chocolate: Enjoy these cookies with a creamy cup of hot chocolate for a cozy treat during the Halloween season.
- Milk: Classic milk is a timeless pairing, balancing the sweetness of the cookies.
- Ice Cream: Serve these cookies warm alongside vanilla or pumpkin ice cream for a delightful dessert combo.
- Tea: A warm cup of chai or pumpkin spice tea complements the sweet and spicy flavors of the cookies.
Storage and Reheating
- Refrigerator Storage: Store the cooled cookies in an airtight container in the refrigerator for up to a week. They may soften slightly.
- Freezer Storage: Freeze the unbaked cookie dough in individual balls. When needed, bake straight from the freezer, adding a couple of extra minutes to the baking time.
- Reheating: To refresh cookies, warm them briefly in the microwave for about 10 seconds or in a preheated oven at 300°F (150°C) for a few minutes until soften.
- Texture Preservation: To maintain cookies’ softness, include a slice of bread in the container to help retain moisture.
Common Mistakes to Avoid
- Using Cold Butter: Starting with cold butter can lead to a less tender cookie. Make sure it’s fully softened.
- Overbaking: Keep an eye on cookies in the oven, as they can quickly turn from perfect to overbaked. Aim for a light golden hue.
- Not Measuring Flour Correctly: Scooping flour directly from the bag can pack it down and lead to dry cookies. Use the spoon-and-level method for accuracy.
- Skipping the Baking Sheet Prep: Baking cookies on an ungreased sheet can lead to sticking. Use parchment paper for easy removal.
- Ignoring Oven Temperature: Use an oven thermometer to ensure your oven is at the correct temperature, as discrepancies can affect baking outcomes.
Spooky Halloween Cookies: Background & Cultural Inspiration
Halloween cookies embody the playful spirit of Halloween, a holiday that celebrates creativity and imagination. The tradition of baking festive treats dates back centuries and often involves whimsical decorations reflecting themes of the season. From ghosts to pumpkins, these cookies are as much a part of Halloween celebrations as costumes and trick-or-treating. They serve not just as tasty snacks, but as a canvas for sharing holiday joy, bringing families together for festive baking sessions. The colorful sprinkles and shapes represent the fun of the spooky season, making each cookie a delightful surprise.
Frequently Asked Questions
Can I make these cookies ahead of time?
Yes, you can prepare the dough in advance and refrigerate it for up to 2 days or freeze it for longer storage.
What can I substitute for eggs in this recipe?
You can use a flaxseed meal or applesauce mixture as an egg replacer. For each egg, use 1 tablespoon of ground flaxseed mixed with 2.5 tablespoons of water or 1/4 cup of unsweetened applesauce.
How should I store leftover cookies?
Store leftovers in an airtight container at room temperature for up to a week, or refrigerate them for a longer shelf life.
Can I use other decorations?
Absolutely! Feel free to experiment with various candies, icing, or themed decoration options according to your preference.
What if my dough is too soft?
If you find your dough is too soft to work with, refrigerate it for 15-30 minutes before shaping and baking.
Final Thoughts
Spooky Halloween Cookies are an enjoyable and festive treat that brings out the creativity in both kids and adults alike. With their simple preparation and delightful decorations, they are sure to become a cherished part of your Halloween traditions. Give this recipe a try, and enjoy the sweet taste of the spooky season!